
If you have been following along with the progress of our primary bedroom, then you know that I reupholstered our headboard for that makeover. When I first posted videos of me cutting into my headboard and tearing the fabric off of the headboard on my Instagram stories, a follower mentioned to me that she liked my “just go for it” attitude. It wasn’t until that moment that I realized that I definitely have a “just go for it” attitude towards many aspects of my life, especially with home projects. Why NOT go for it? If you don’t like something, change it! Worst case scenario: You ruin something that you didn’t like anyway. Best case scenario: You learn a new skill, achieve the look you’re going for, and feel accomplished after.
In my ideal world, I would have been able to purchase a beautiful new headboard. In that world, I also would have been able to sit back and watch a professional contractor install my wood panels and paint my walls. Unfortunately, in the real world, I can’t afford to spend hundreds or thousands of dollars on home makeovers. Instead, I try to take matters into my own hands and work hard to create the home of our dreams.
When researching headboards, I envisioned having a simple, modern, beige headboard with no tufts or patterns to compete with our new wood panel walls. I felt that our existing grey tufted headboard would look too dull against our newly painted wall. I wanted a headboard that would help brighten up the space. I decided to use an extra curtain panel that I had to reupholster our old $150 headboard. Because I use those curtains in our bedroom and throughout our house, I knew for sure that the fabric would help the headboard look cohesive in our home.


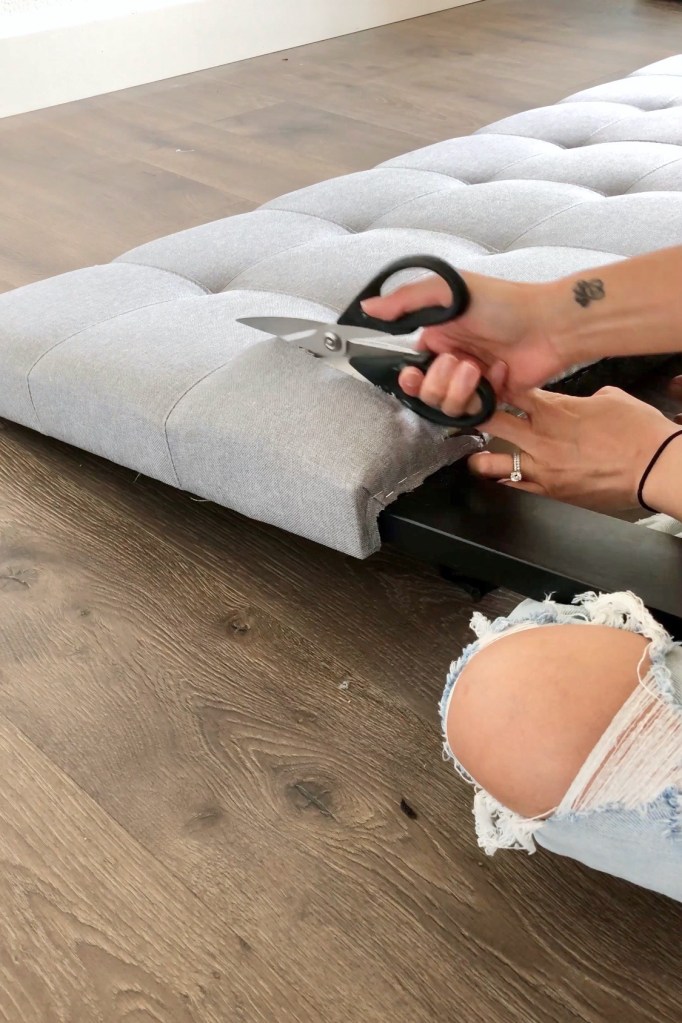
I started by attempting to remove the staples… with very little success. There were SO many staples, and they were extremely hard to remove from the wooden headboard. I ended up just cutting the fabric off with some scissors. Luna definitely questioned my idea and wanted to supervise so I wouldn’t mess up. Haha!

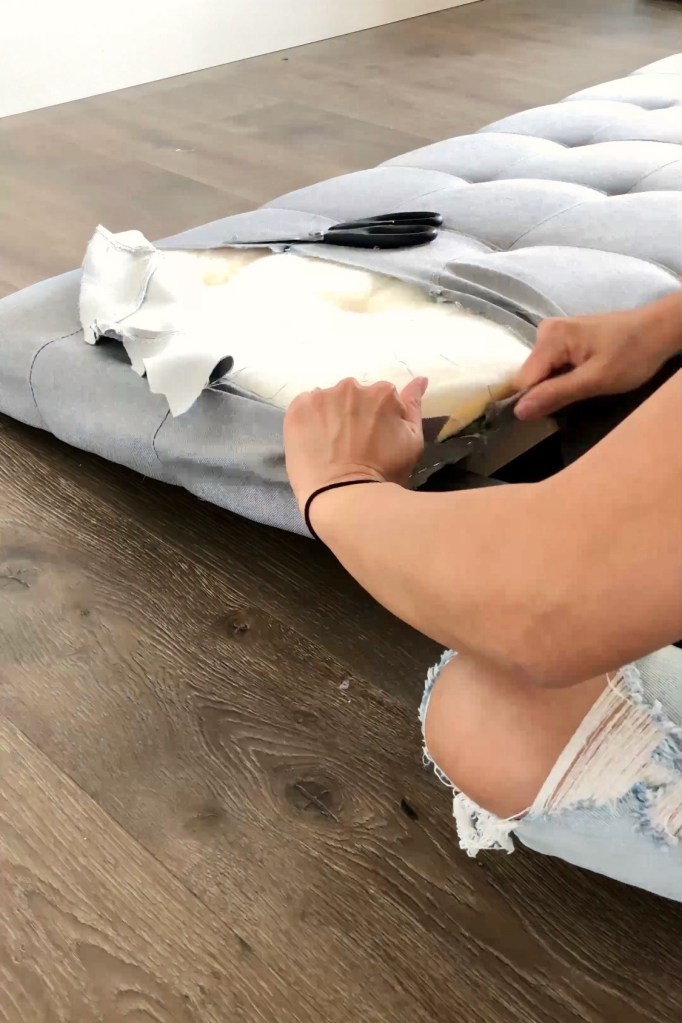
I removed the fabric and made sure to remove the tufted areas.
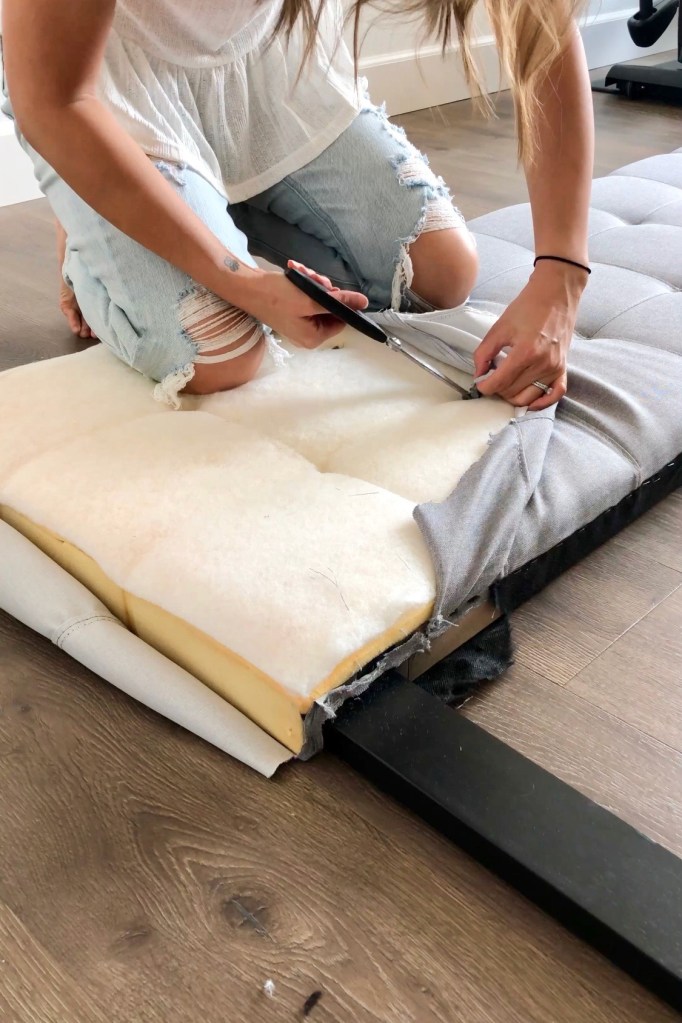


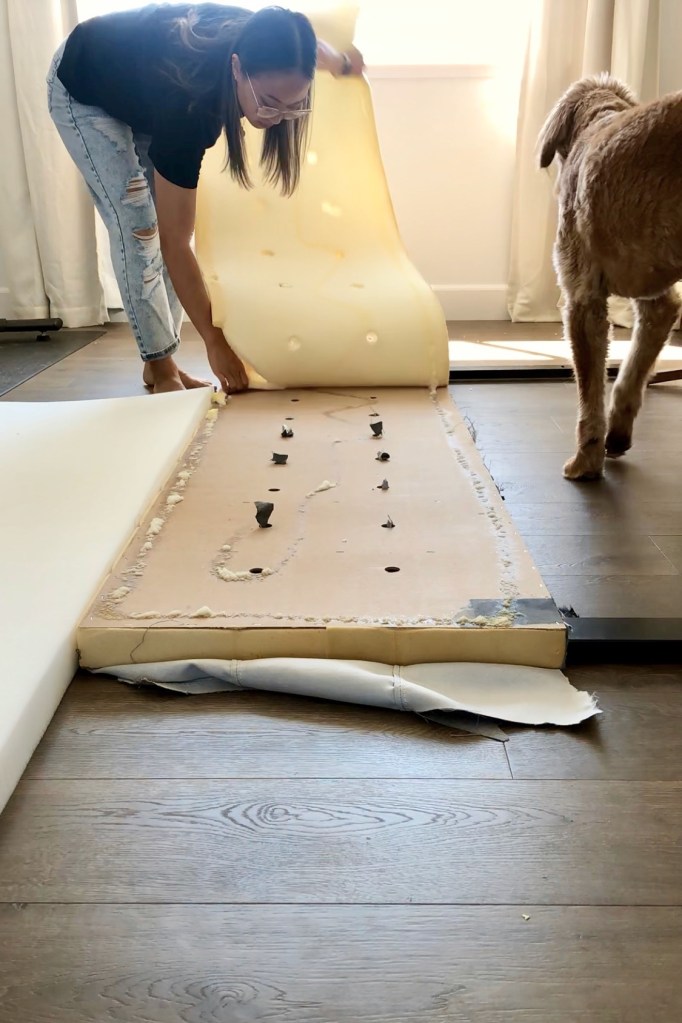
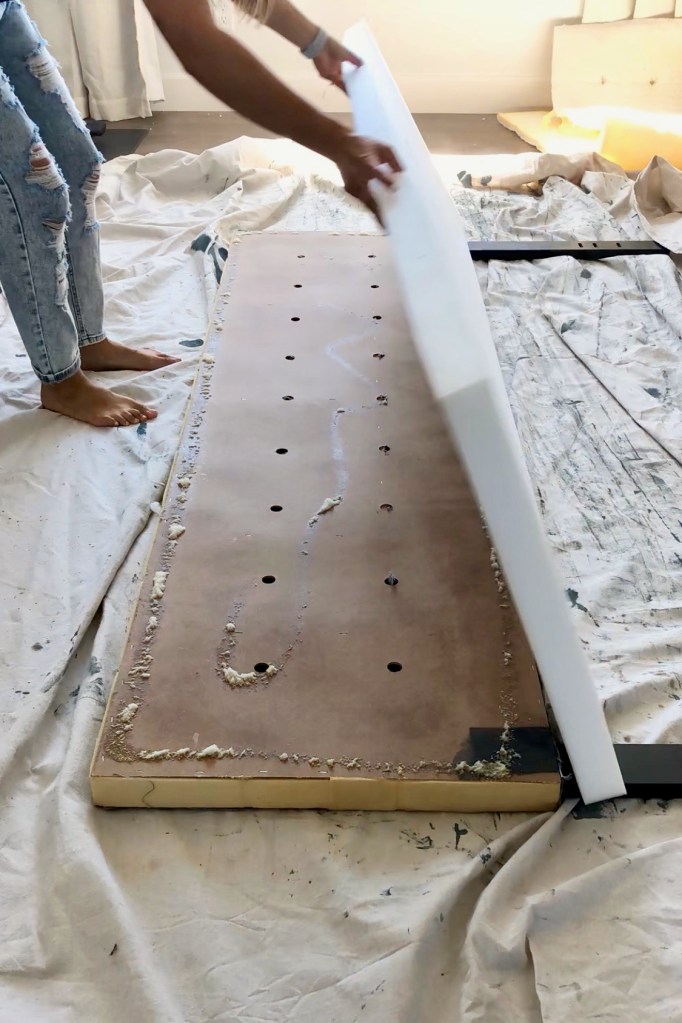
Then I removed the old batting and foam cushion. I could have reused the cushion, but this cushion had too many holes from the tufts that would most likely show through the fabric. I purchased a new foam cushion on Amazon that was the exact length of my headboard.

I made sure to remove as much of the extra fabric as I could, as close to the existing staples as I could.


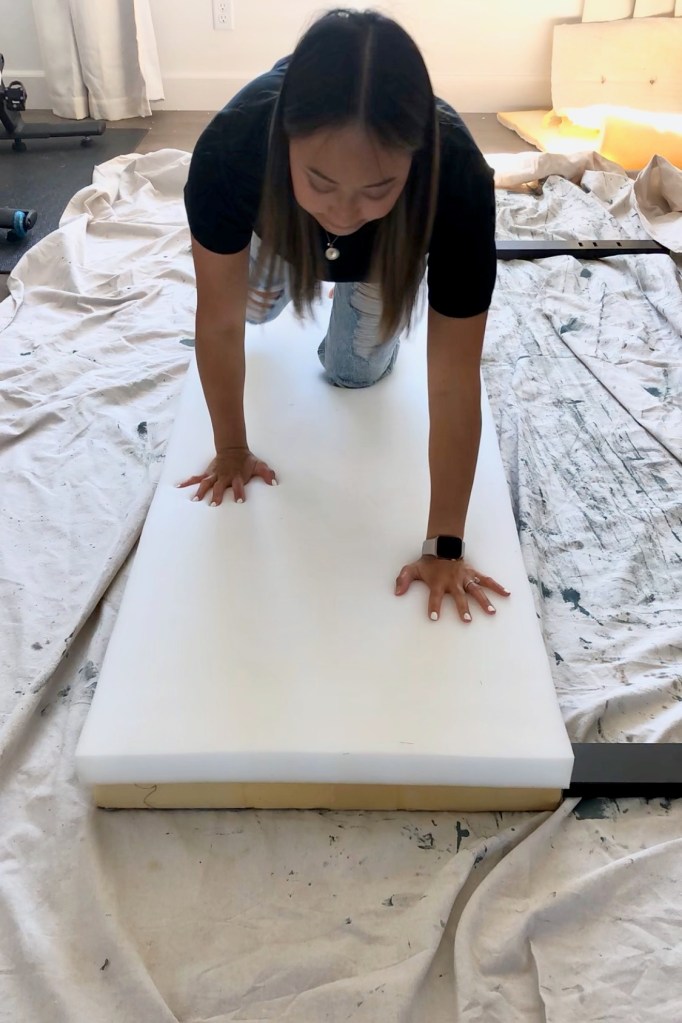
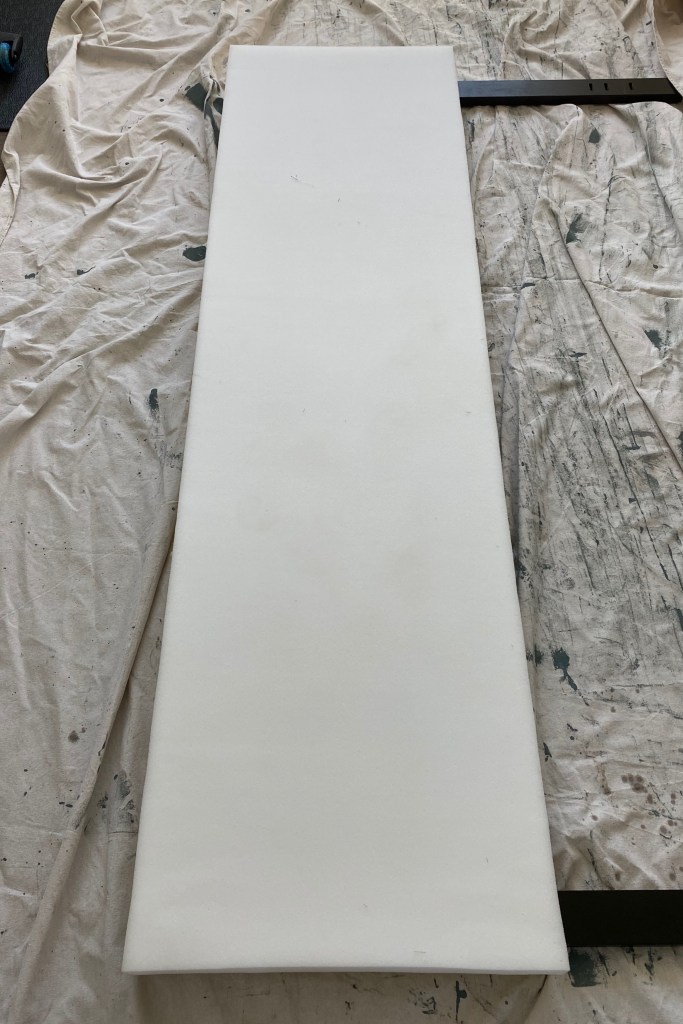
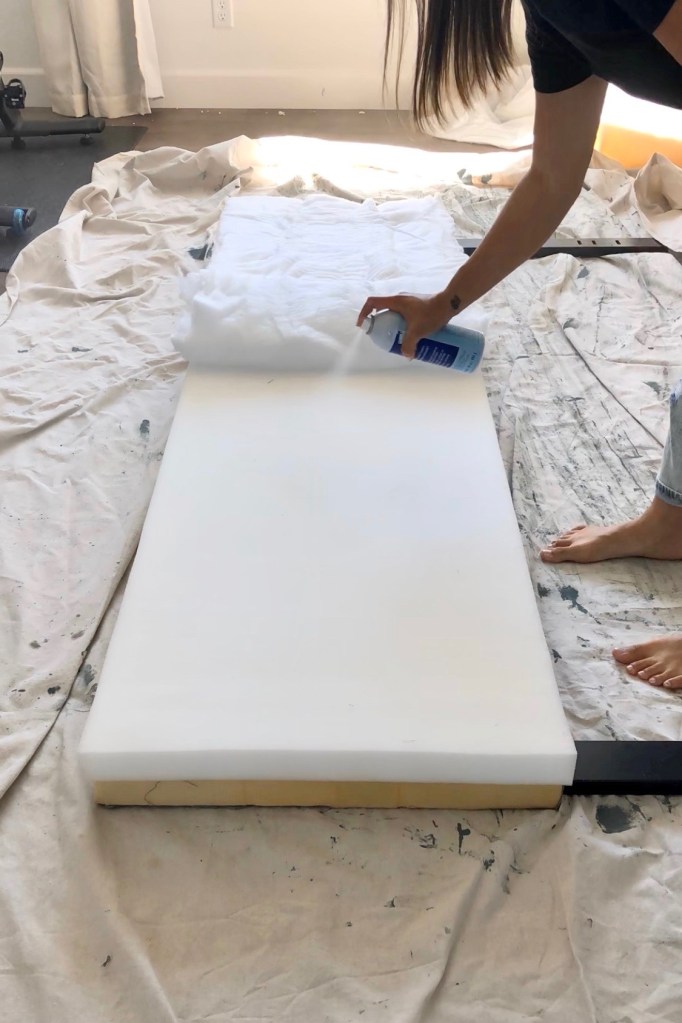
I applied adhesive spray to the wooden board, carefully positioned my foam cushion over the headboard, and applied pressure over it (more like I crawled over it) to secure it in place. THIS DID NOT WORK! The foam cushion came right off. I tried liquid nails instead, and that didn’t work either! The foam just absorbed all of the glue! After completing this project, I found out that some people use double-sided carpet tape to secure the foam cushion to the headboard. What a great idea!

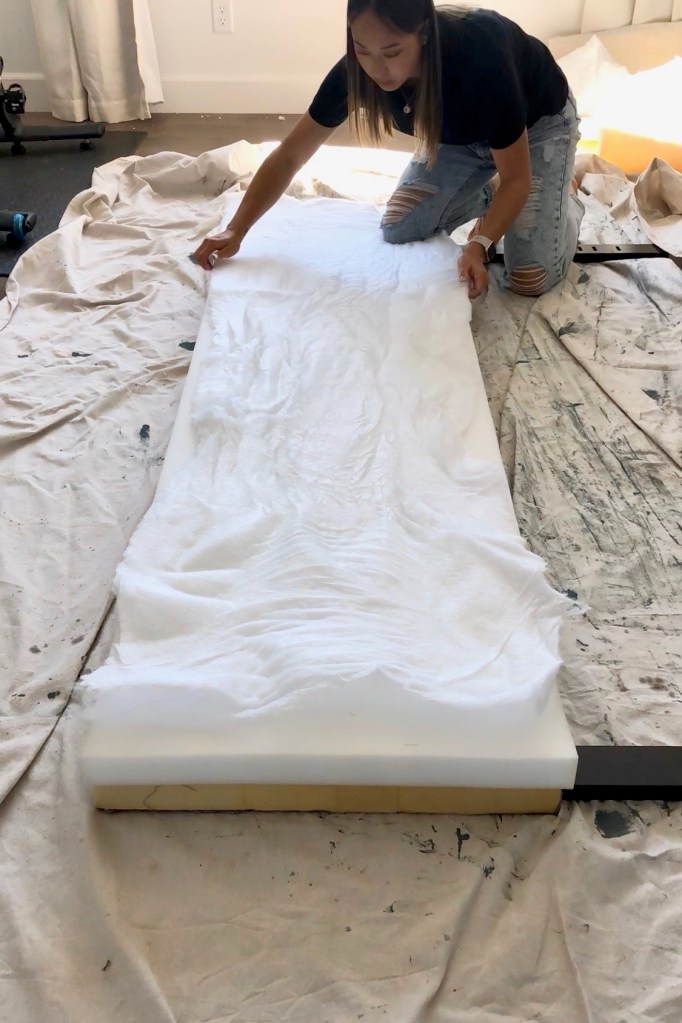
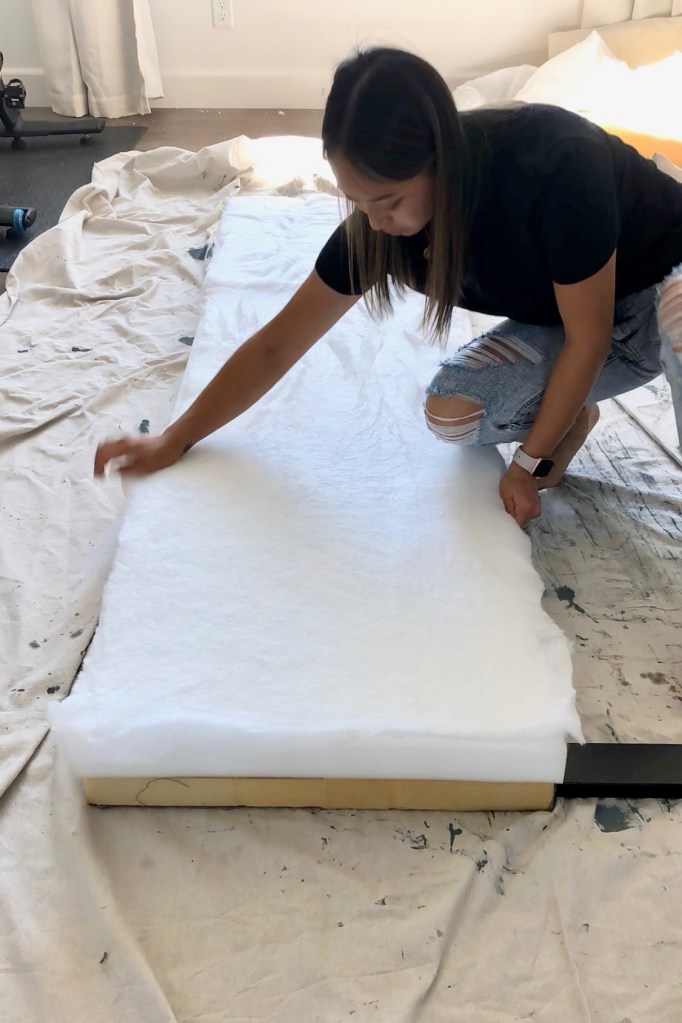
Next, I carefully put on my layer of batting. I’m not sure if this step was really necessary… I mainly did it because my headboard originally came with a layer of batting (that I ripped off) and because this was listed as a step in several tutorials. Apparently, batting prevents the fabric from slipping against the cushion and helps the headboard look more “fluffy.” I’m not sure my fabric would have slipped very much without it, and my headboard doesn’t look any flufflier with it… but I did it anyway!
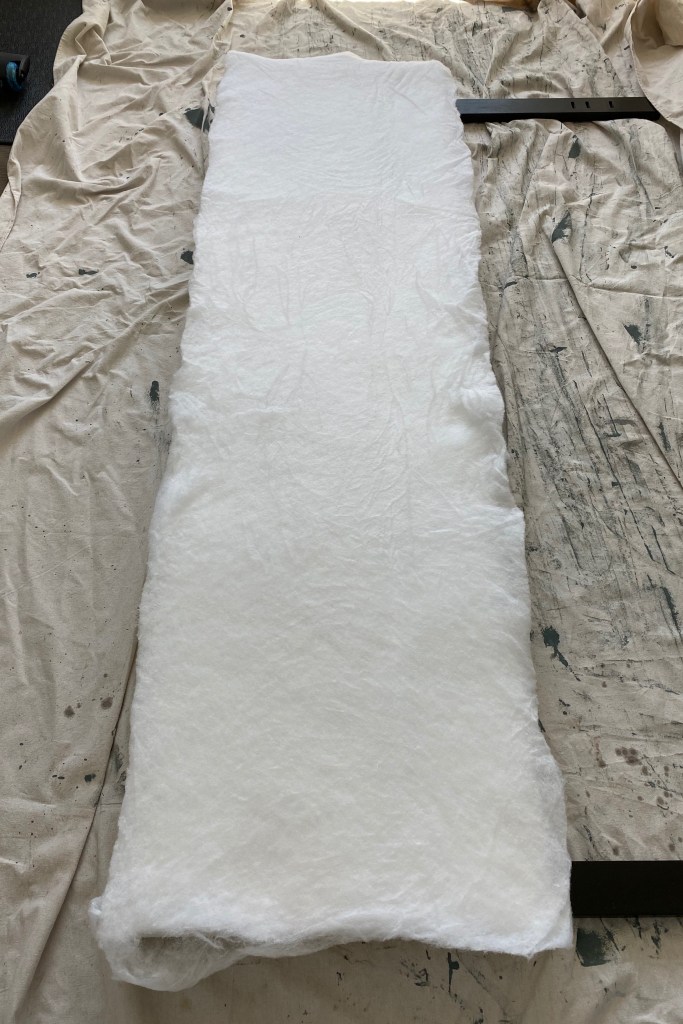
Because my batting came bunched up in a bag, I straightened it out and trimmed it down to the size of my headboard. I applied adhesive spray to the cushion and carefully rolled the batting out over the cushion, making sure to extend the batting slightly over the edge of the cushion for even and full coverage. The adhesive spray dried within a minute or two so I had to move quickly and efficiently during this step. Although the adhesive spray did not work well when attaching the foam cushion to the wooden headboard, it worked extremely well in securing the layer batting to my foam cushion.
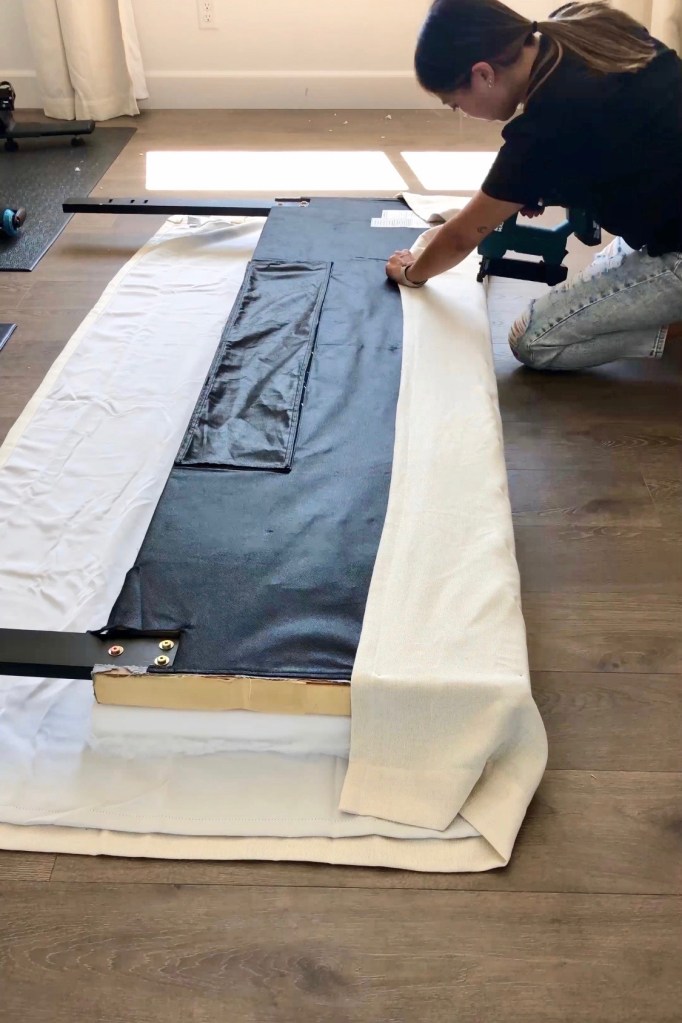
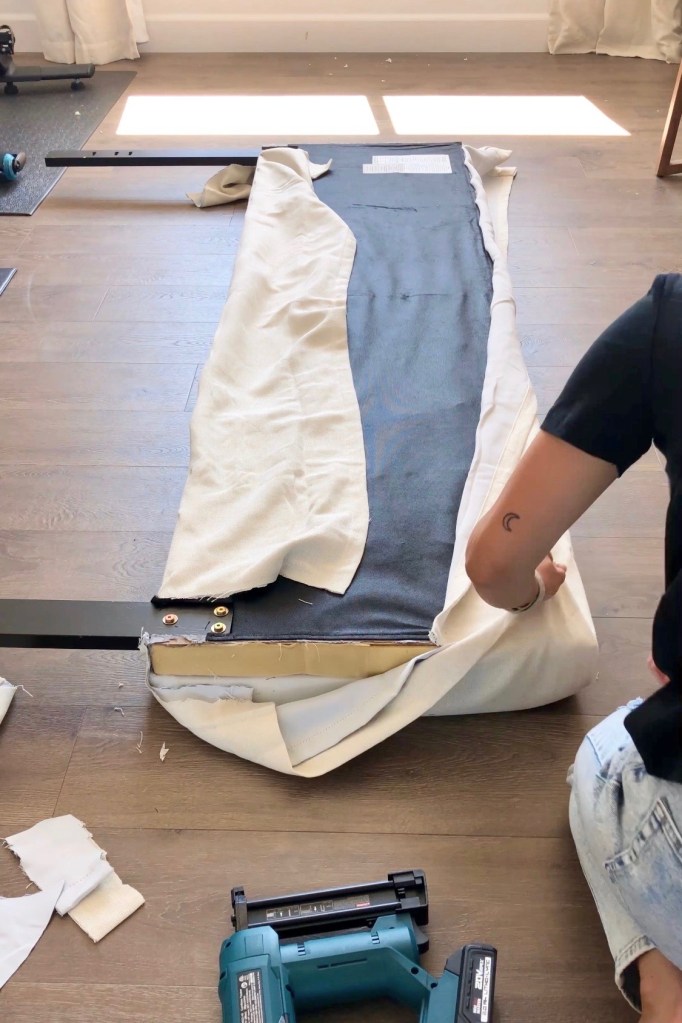
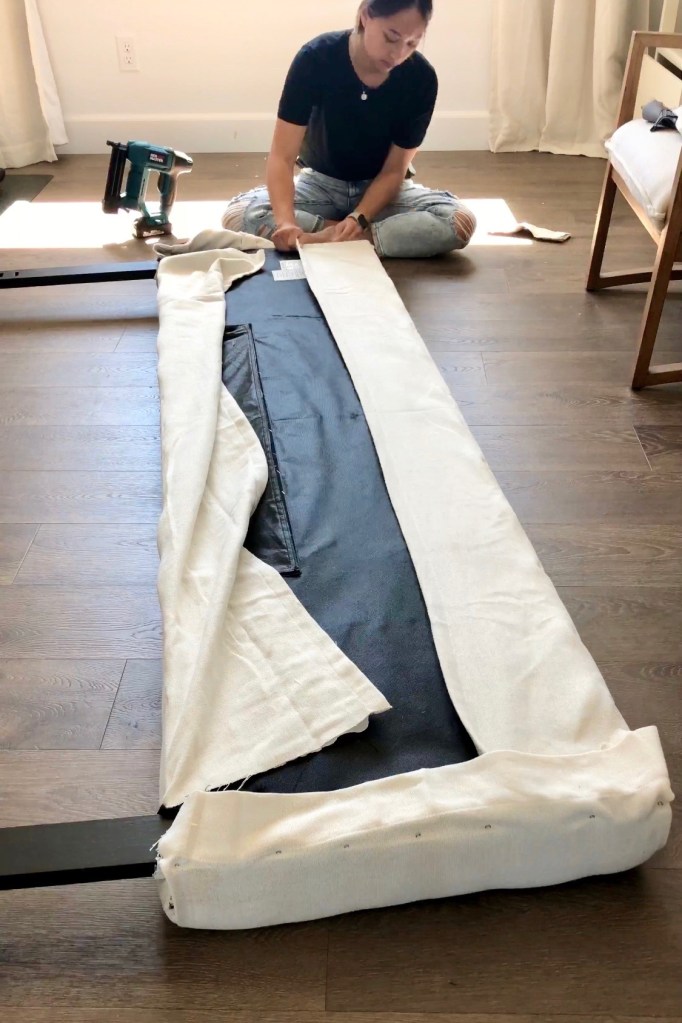
Next, I laid down an extra curtain panel that I had. Because the adhesive didn’t actually secure the foam cushion to the headboard well, I had to carefully position the headboard face down on the curtain panel, making sure that the back piece was aligned with the cushion.


Next, I folded the curtain panel over each side, pulled the fabric tot, and stapled the fabric to the headboard. I learned later on that I had pulled my fabric too tightly and created mild indentations in my foam (pictured later in this post). I recommend pulling your fabric tightly but very gently over each edge without distorting the shape of the foam cushion to avoid making the same indentations.

There are two mistakes shown in the photo below that I made while trying to figure out the best way to fold the corners of my headboard. First, I cut too much fabric off the the bottom piece when trying to work around the leg of the headboard. This made it challenging to fully cover that specific corner of the headboard with fabric. Second, as seen on the right side this photo, I folded the top piece in too much, creating a sloppy corner fold.

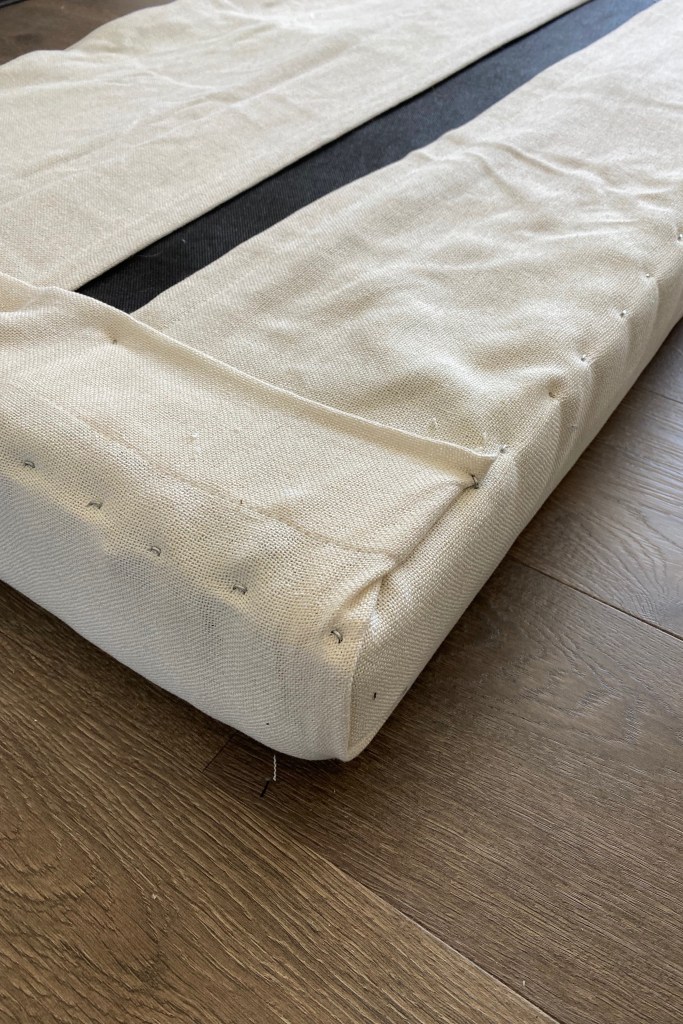
To arrange the corners more neatly, I folded the top piece in, pulled the fabric tot, folded the side piece of fabric over the edge, and stapled the piece to the headboard. By saying “top piece,” I am referring to the fabric on the top side of the headboard (not to the top side of this photo). By “side piece,” I mean the fabric on the side of the headboard (not the piece to the side of this photo). I’m not really sure how to explain this step clearly, but I basically wrapped the headboard like I would wrap a christmas present and adjusted the corners appropriately until I was satisfied with the look.


Because I cut too much fabric from this bottom corner, I had to fold it very carefully to make sure that the entire corner of the headboard was covered. I had the JUST enough fabric to cover the area.

Again, I folded the top piece in, then folded the side piece over the edge, pulled it tot, and stapled it to the headboard.


I cleaned up the edges and corners by stapling any areas of loose fabric to the headboard.

I added more staples along the entire edge of the headboard for extra stability and straightened out the last bit of loose fabric in the center of the headboard.

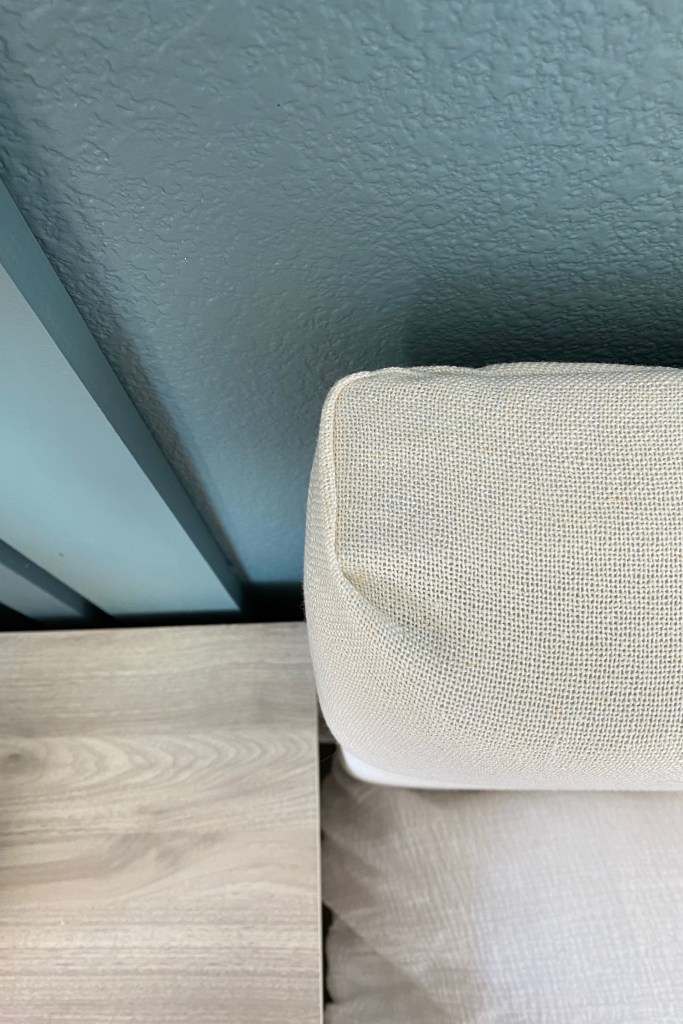
As mentioned previously, I realized I made a mistake with stapling the fabric when I turned my completed headboard over. I noticed that I pulled my fabric a little too tightly, which created slight indentations along the edge headboard where I inserted each staple. This resulted in mild vertically tufted look. I really did not want to remove all of the staples that I had just put in, potentially ruin my fabric, and have to start over. In order to fix this issue, I removed a few staples and loosed up a few others. Although this helped, ths slight vertical tufting is still apparent from some angles. Again, I highly recommend just gently pulling your fabric over the edge when stapling it to the headboard.


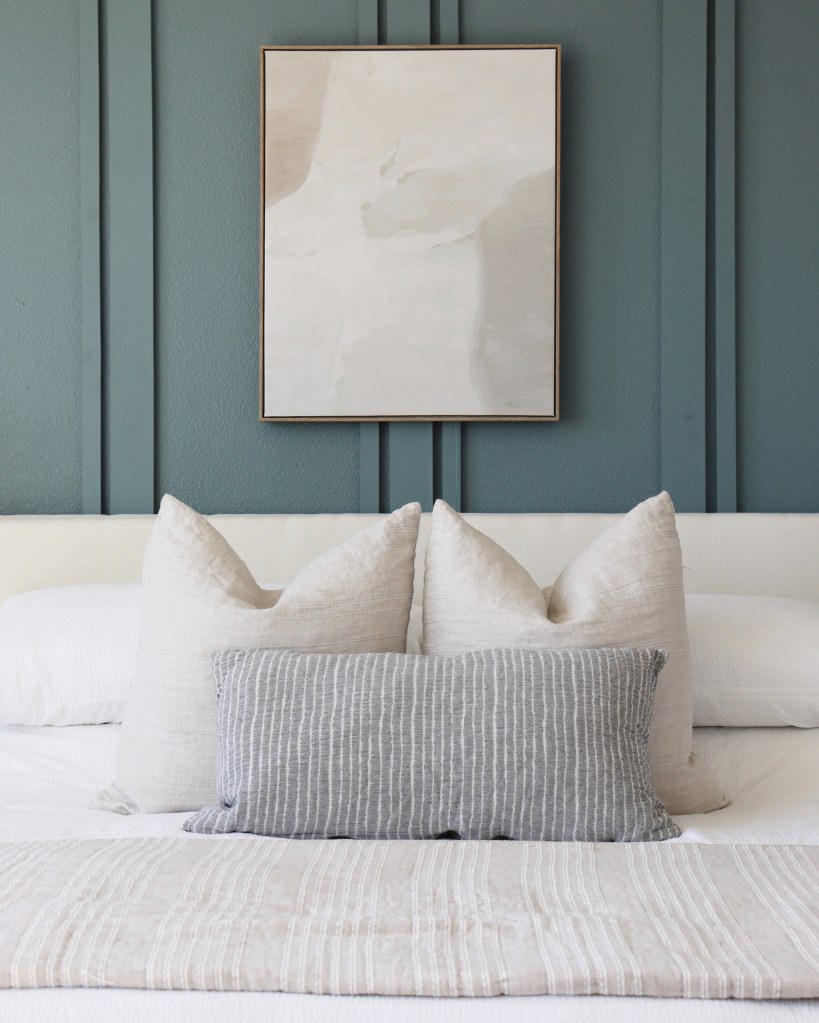
This reupholstered headboard definitely isn’t perfect and doesn’t look professionally done; however, it meets my needs, saved me a lot of money, and brightens up this bedroom space so much! I love it, and that’s a win in my book! What do you think?


Until next time,
Emily
