
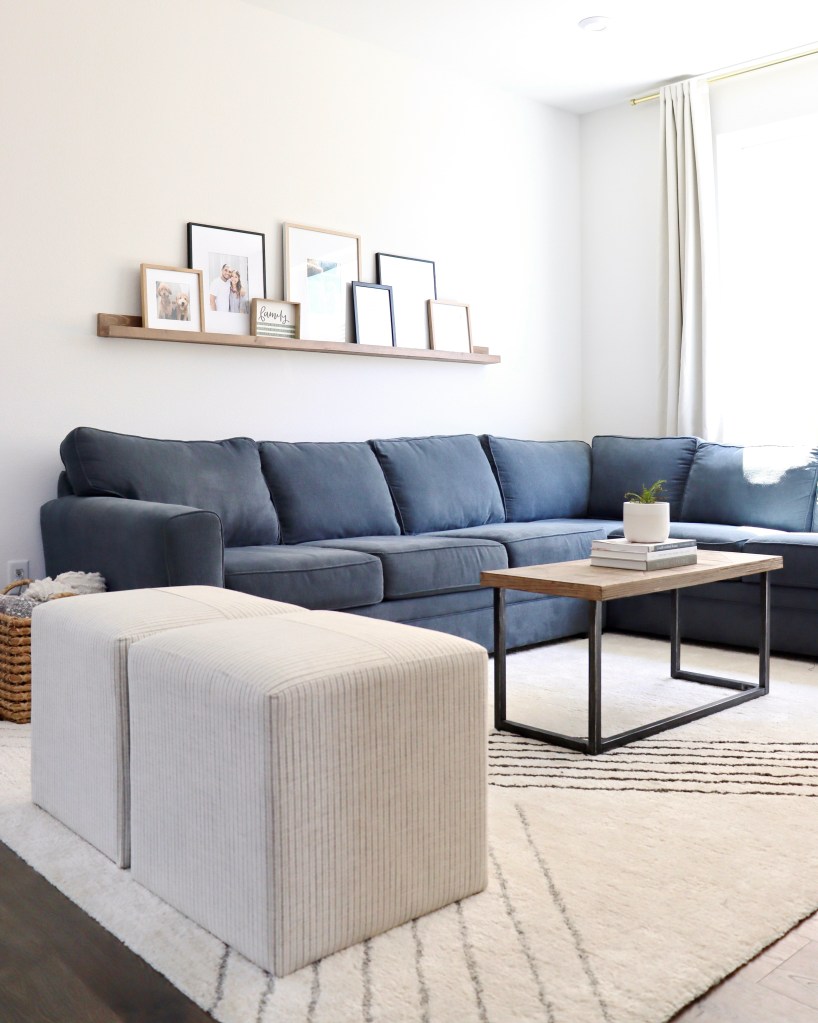
I’ve always loved the look of a picture ledge above a living room sofa but have always found them to be a little on the pricier side. I wanted a picture ledge that extends across 2/3 to 3/4 the length of my couch. For the sectional in our front living room, my ideal picture ledge would be approximately 7′ (or 84″) long. An 84″ picture ledge goes for about $130 on Etsy. A 72″ picture ledge goes for about $70 on Amazon. I decided to make my own for around $15.
I got one 2″ x 4″ x 8′ common board to use as the back piece, one 2″ x 3″ x 8′ to use as the bottom piece, and one 1″ x 2″ x 8′ board to use as my front piece.
I already had all other supplies at home, including the following:
- Miter saw
- Orbital sander
- Clamp
- Wood glue
- Nail gun and nails
- Power drill and wood nails
- Wood conditioner
- Wood stain
- Level
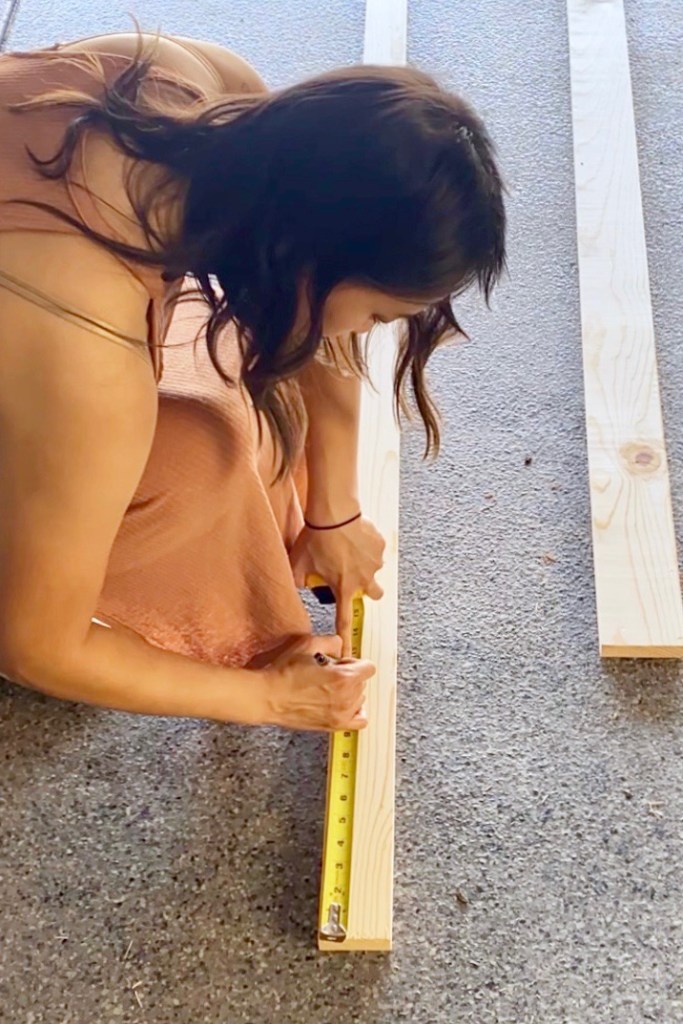
I started off by measuring and marking my wood. As mentioned above, I wanted my picture ledge to be 7′ long. Because these are 8′ boards, I had to cut a foot from each board for the ideal length.
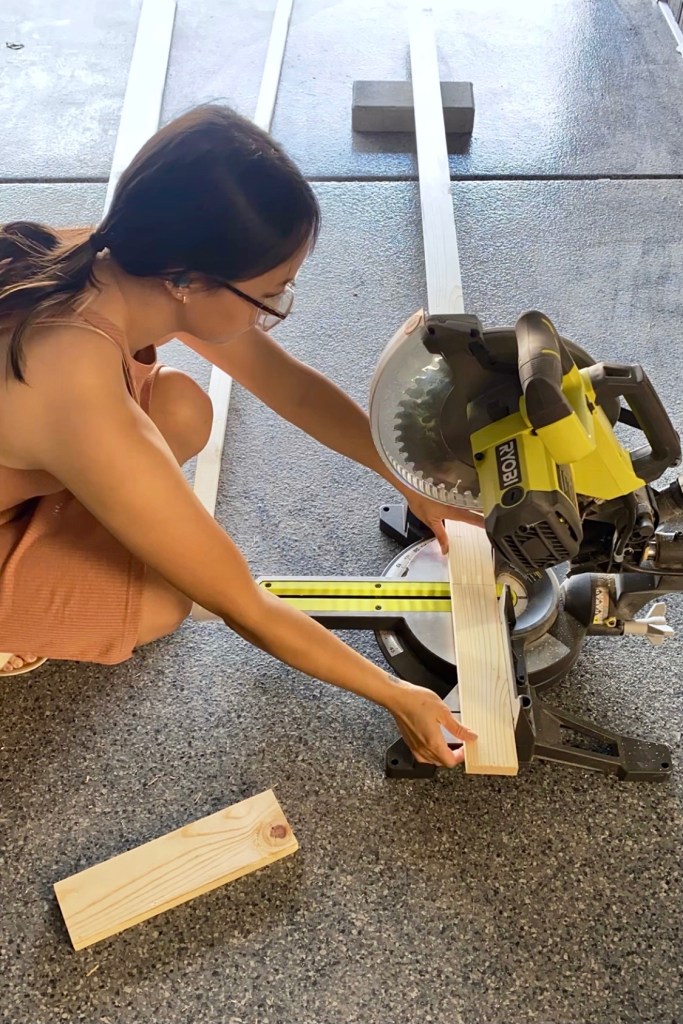
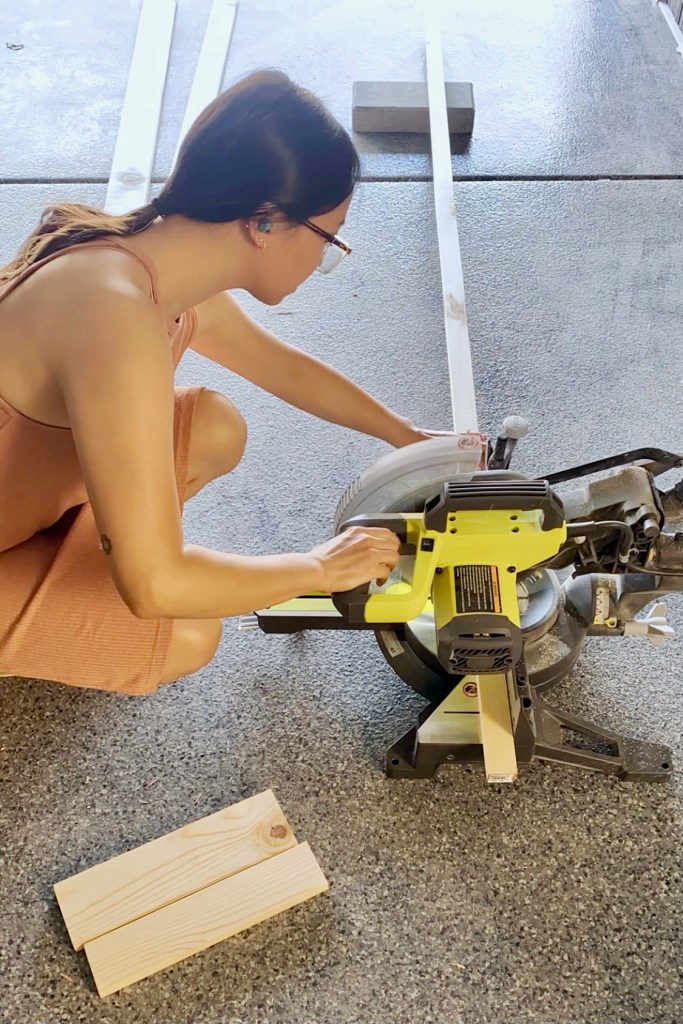
Next, I cut my wood using my miter saw.
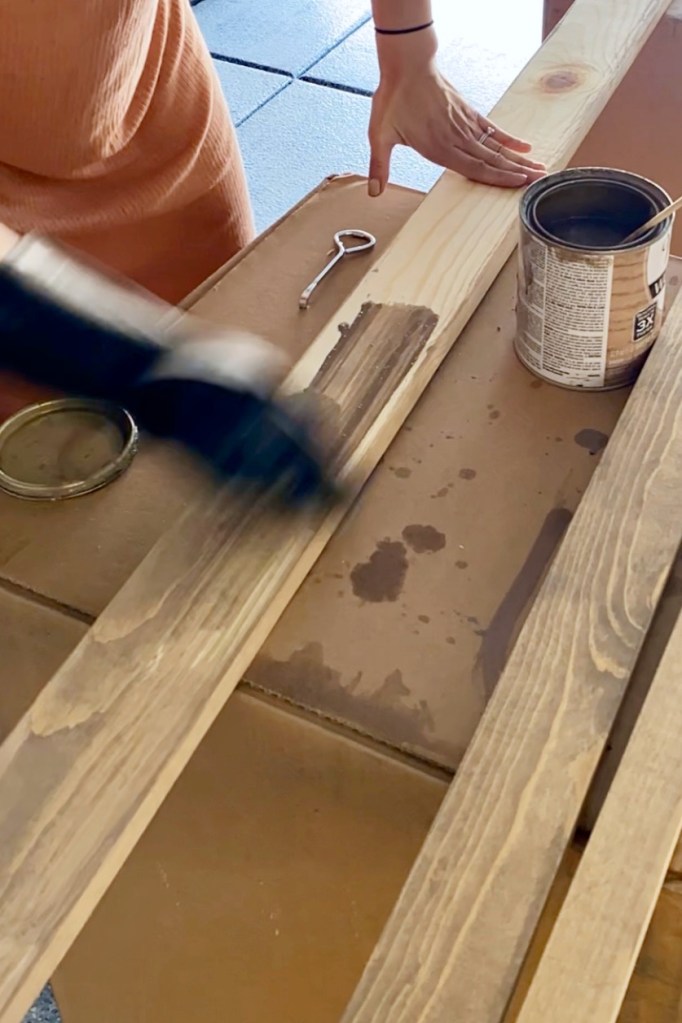
I sanded down each side using my orbital sander with 80 grit to remove imperfections, then with 120 grit to smooth out the surface for even staining.

I applied wood conditioner, let that dry for approximately 15 minutes and applied Varathane Flagstone wood stain.

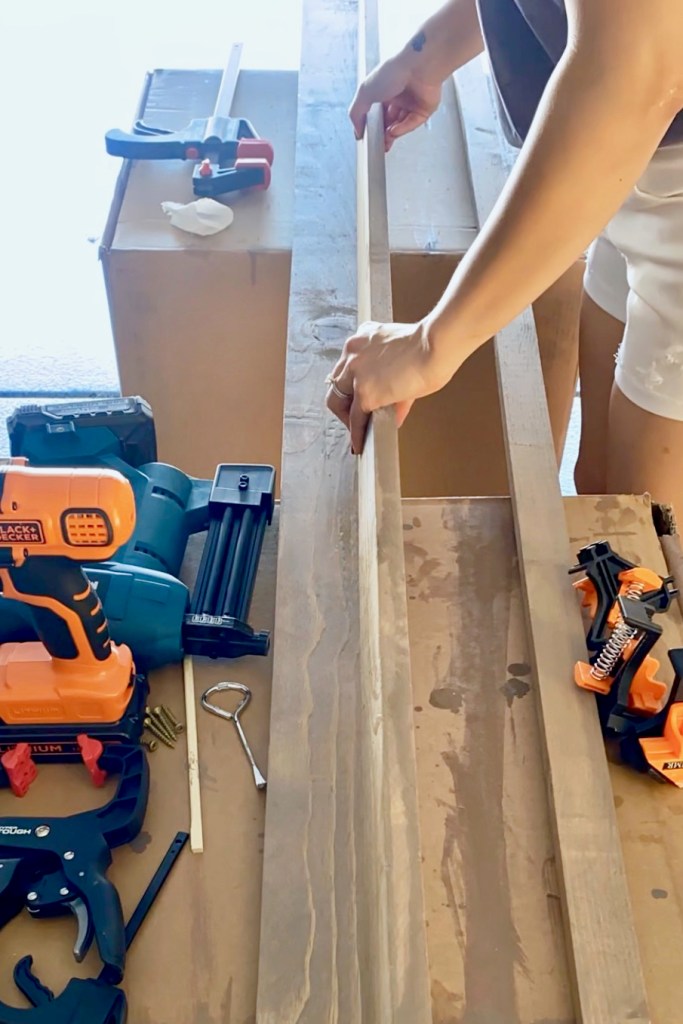
I let the wood stain sit and dry overnight. The next day, I applied wood glue to the bottom front of the 2″ x 4″ board, gently placed the side of the 2″ x 3″ up against that section to create the base of my picture ledge, and clamped the pieces together. I also used corner clamps to ensure that the pieces were aligned well.

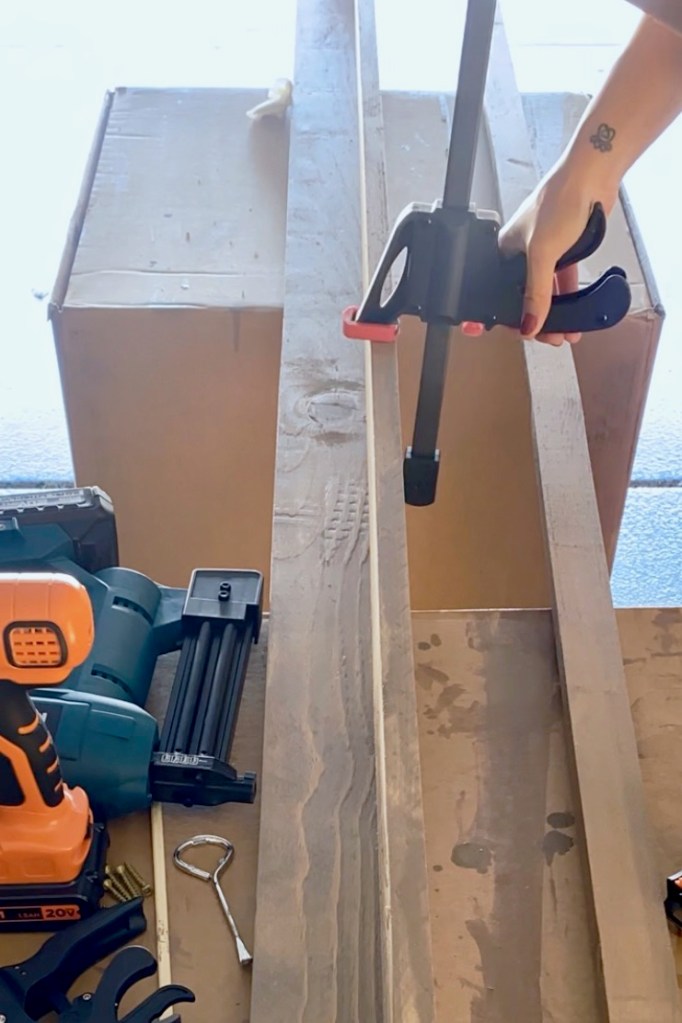
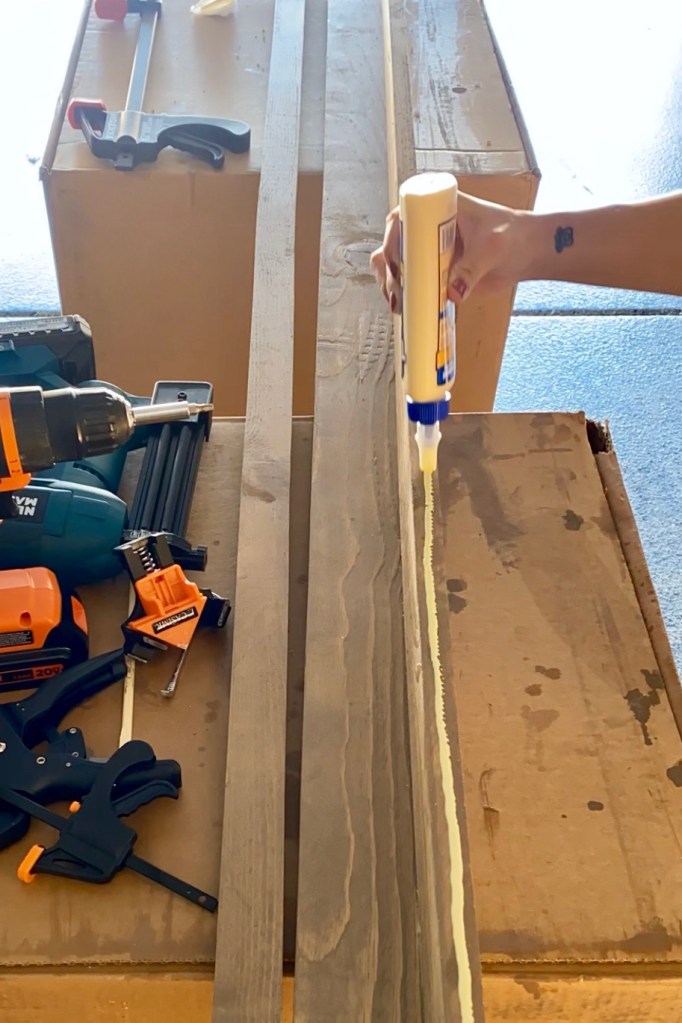
Next, I applied wood glue to the front edge of my 2″ x 3″ and positioned my 1″ x 2″ up against the 2″ x 3″ to create the front piece of the ledge. Again, I used corner clamps to keep these two pieces aligned.


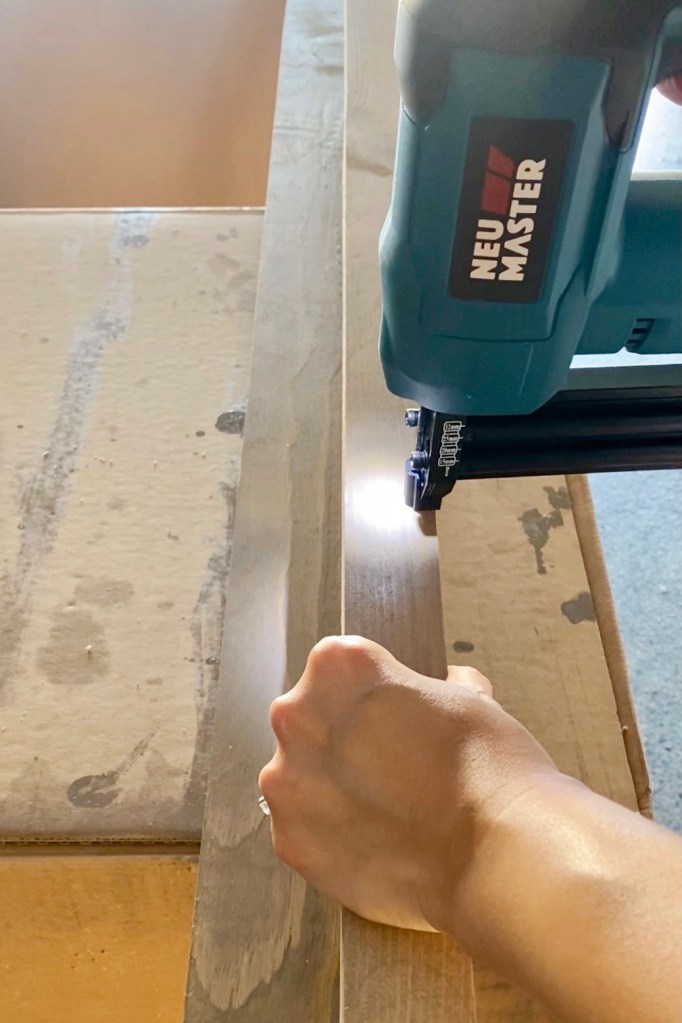
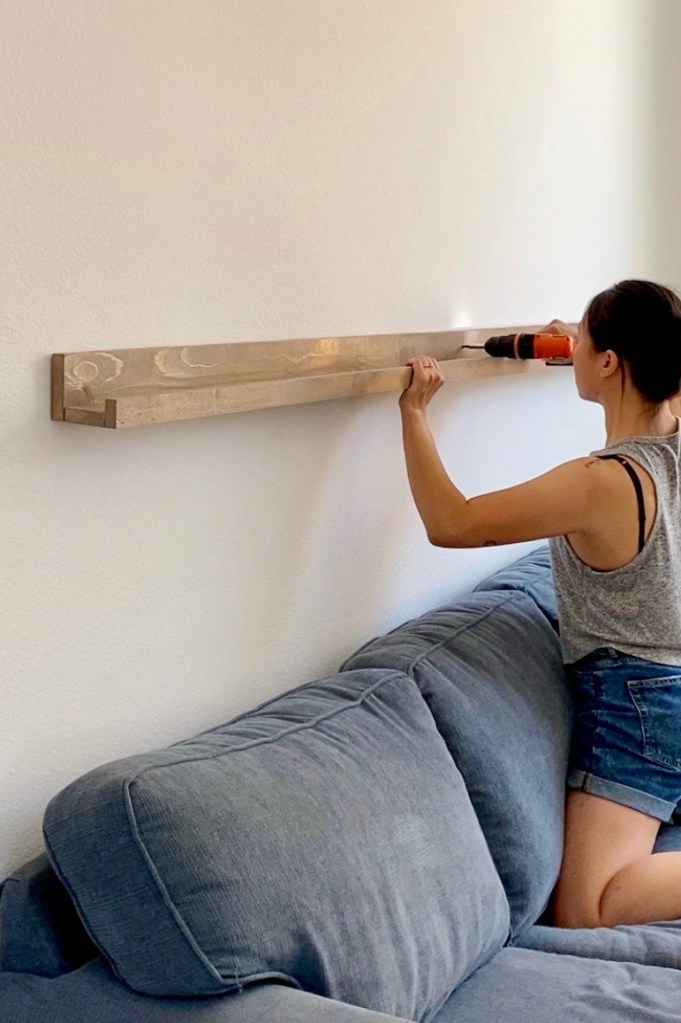
I used my nail gun to secure the 1″ x 2″ to the 2″ x 3″, then flipped the ledge around and used wood screws to attach the 2″ x 4″ to the 2″ x 3″. The side with screws will be up against the wall.

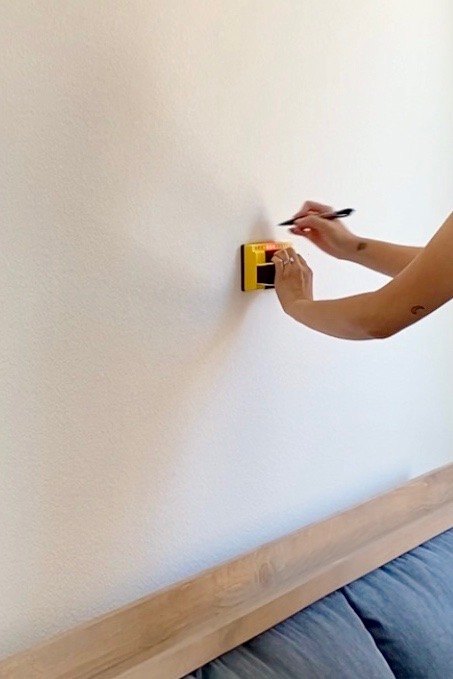
I found and marked my studs using my stud finder. Then I attached the picture ledge to the wall, using a single screw into the stud closest to the center of the picture ledge. This allowed me to level out my picture ledge and make minor adjustments easily while having the picture ledge already secured to the wall. While keeping the picture ledge level, I inserted more wood screws where my studs are located to attach the picture ledge securely to the wall.

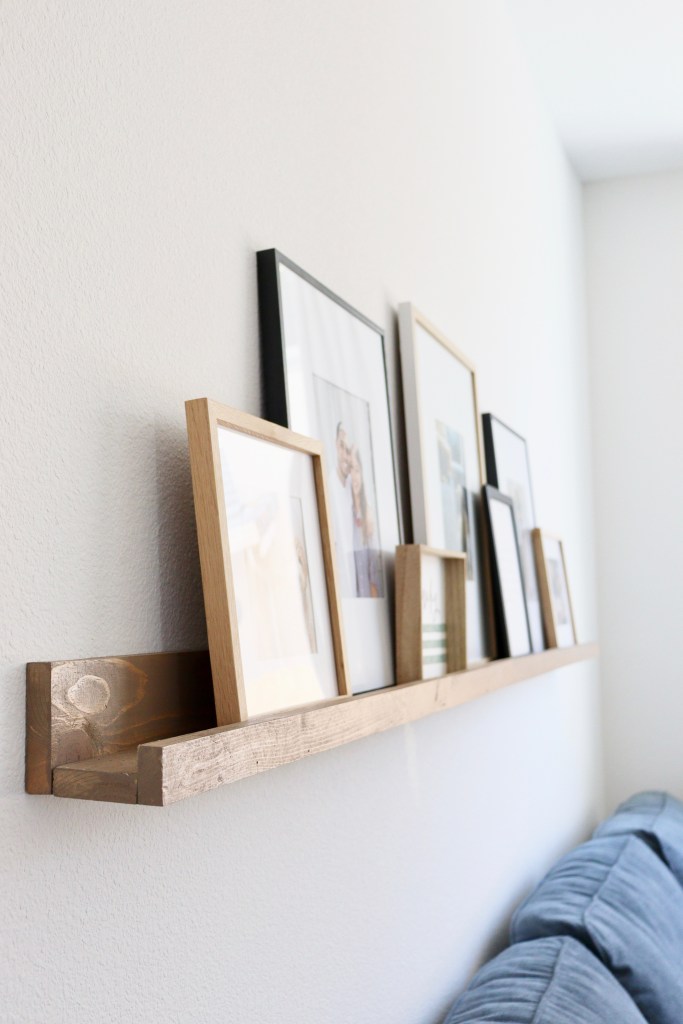
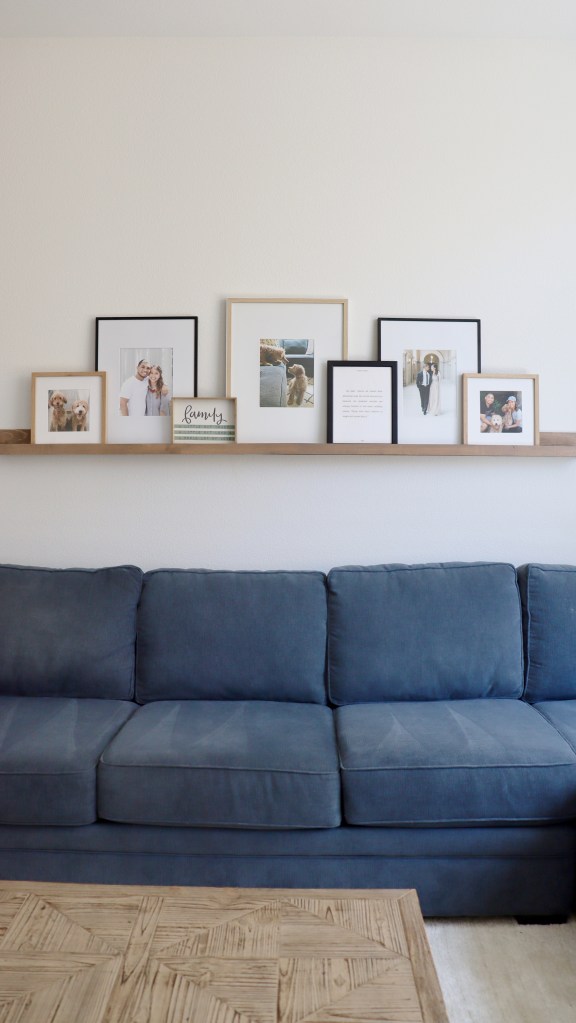
I styled my picture ledge with different but complementary frames and photos that I had laying around the house… and that’s it! I love that I can easily switch out my frames and photos as desired!
Until next time,
Emily
