Do you remember when I built a coffee table to place over our living room ottoman? Well, it bothered me that our end table didn’t match our coffee table anymore. My end table had a grey/cool tone, while my coffee table was a lot warmer in color. Since I had plenty of red oak plywood left over from the coffee table project, I decided to build my own end table and use the same stain that I used for our coffee table.
I started off by ordering some table legs on Amazon. There are so many types… hairpin, pedestal, U shape, X shape, Z shape, pipe legs, trapezoid, peg legs, the list goes on. I ended up getting these black metal U shape legs.

Next, I measured and marked my red oak plywood for a 18.5″ x 18.5″ tabletop. Because of the layout of our living room, I didn’t want a big end table that may get in the way. I also wanted the tabletop to be appropriate to the size of the table legs.

I then cut the plywood with my miter saw. As I mentioned in my coffee table post, it’s best to cut red oak with a blade that has many small/shallow teeth due to red oak’s tendency to splinter. I also learned from the coffee table project that red oak splinters on the top surface of the wood where the blade cuts into the wood. With that said, here’s what I learned (from experience) …
- Because red oak splinters from the top surface where the blade inserts the wood, make sure you cut from the same surface. My miter saw only cuts up to 12″ wide, and since I wanted my table to be about 18″ side, I had to cut one side (up to 12″), and turn my plywood around to cut the remaining 6″. I recommend turning or rotating your plywood rather than flipping it for the second cut. If you flip the plywood over, you end up splintering both sides of the tabletop. I actually think it would be best to cut large pieces of plywood with a table saw or circular saw with a router jig so you are able to cut the plywood in one continuous cut. Because I cut the tabletop from the same surface, my wood didn’t have many splinters and didn’t really require wood filler.
- Sometimes, there is a good and a bad side of plywood. One side my be a little smoother than the other, have a more appealing grain pattern, or have stamps or markings. Keep that in mind when you are choosing the specific surfaces to have as the top and bottom of your table.

Once I had my tabletop cut to my desired size, I sanded my plywood with 120 grit to even out the surface and 220 grit to smooth it out.

Then, I ironed on some edge banding, which is a thin piece of wood with a heat-activated adhesive on the back. This helps conceal the layers of plywood for a more finished look. I purchased my red oak edge banding from Amazon.


Next, I applied wood conditioner to my tabletop. This helps the wood absorb the stain evenly. After about 10 minutes, I applied a layer of Varathane Espresso wood stain.
Side note: It JUST came to my attention that “Espresso” is spelled with an S!! For some reason, I always thought it was spelled “Expresso.” Please tell me I’m not the only one…


I wanted to see if wood conditioner alters the color of a stain so I did a little experiment… and YES, it does! The wood conditioner lightens the stain a little and adds a warm tint. Although you may like the color of the stain without wood conditioner, I still highly recommend using wood conditioner prior to staining, especially for soft wood like pine. Luckily, oak is considered a hard wood and stains pretty evenly with or without wood conditioner; however, when applying the stain, I could feel that the stain went on a lot more easily and smoothly with the wood conditioner.

I measured where I wanted to attach my table legs, drilled pilot holes, and secured the table legs to the tabletop.


Lastly, I added a layer of polyurethane to seal/protect the wood. A paint roller works best for this step, but I ran out of rollers and had to use a brush instead. This product will appear white and opaque but will dry clear. I let it try for several hours before placing items on the table.


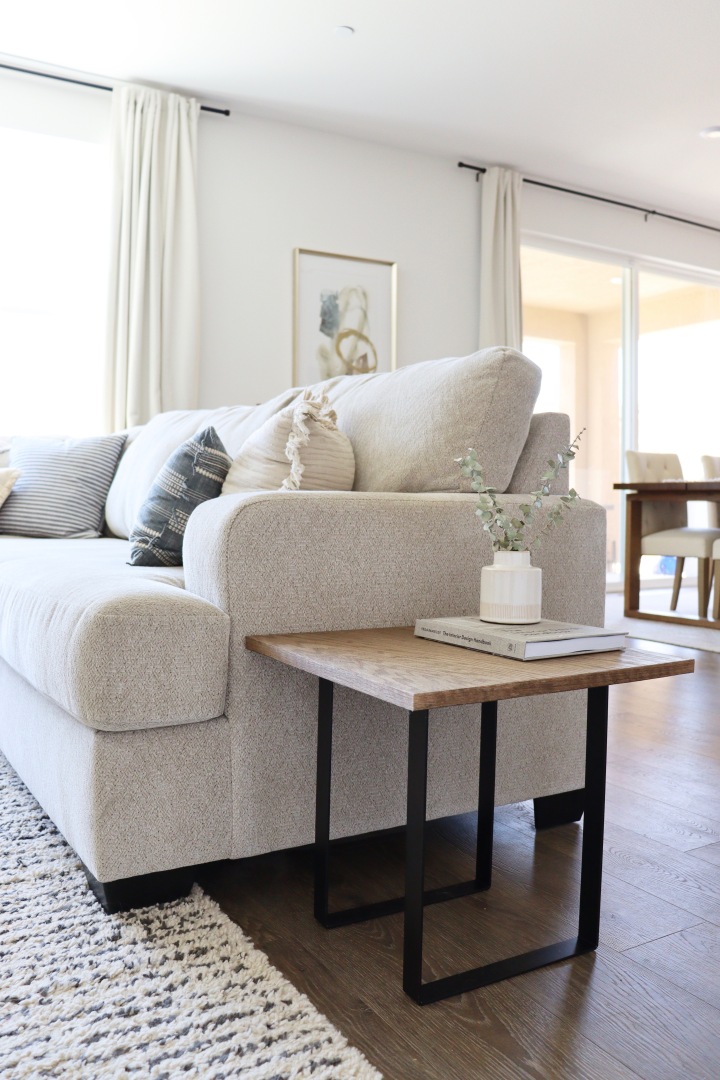
And that’s it! Now I have an end table that matches my custom/DIY coffee table!


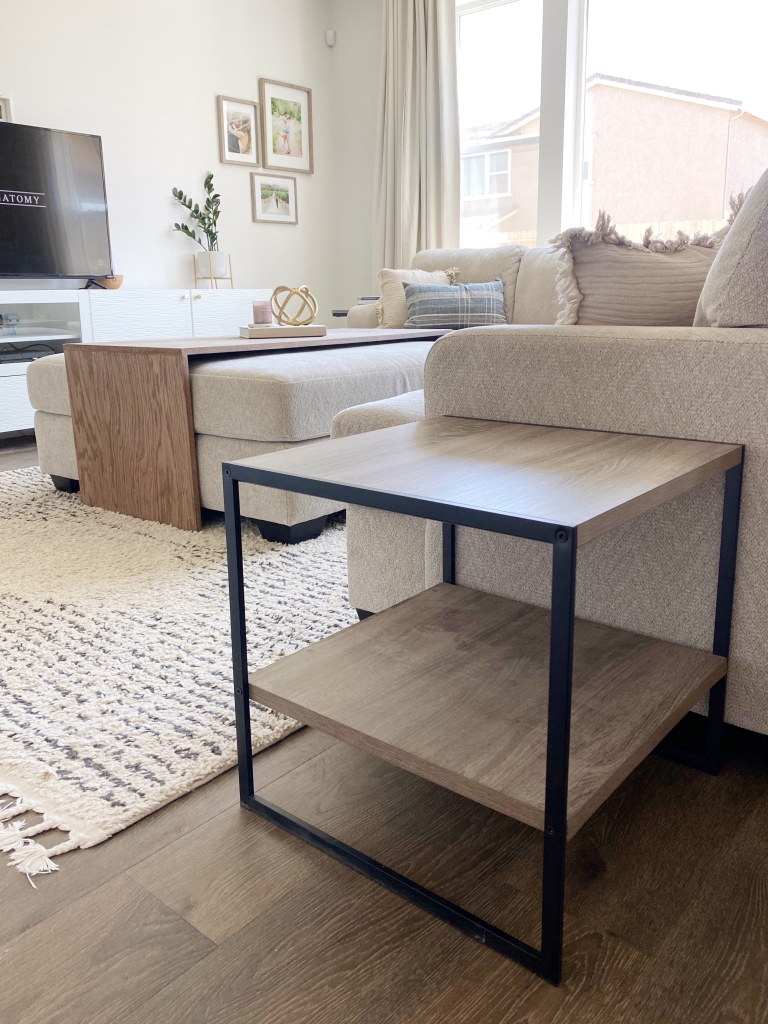
Although the table is a little smaller and shorter than I originally planned (taller table legs were less affordable), I love how it turned out! Unfortunately, now our C-table in the living room corner doesn’t match the coffee table and end table anymore. Next project idea? Haha…
Feel free to check out my Instagram for DIY project videos and decor inspiration!
Until next time,
Emily

Love how everything turned out!
LikeLike