I hope you have all had a great week. I got to meet my newborn niece, Juliet, this weekend, and she made my heart melt!! I can’t wait to see her again and watch her grow. Maybe I’ll be able to teach her some DIY in the future! For now, I’ll keep myself busy with some home projects like my most recent pendant light hack.
Pendant lights make a big statement and can change the overall vibes of a kitchen or room; however, it can be costly to purchase light fixtures and to hire an electrician to install them. Although I’ve seen a lot of people learn to replace pendant lights by themselves, Vince and I are both too nervous to DIY electrical work and prefer to hire a professional.
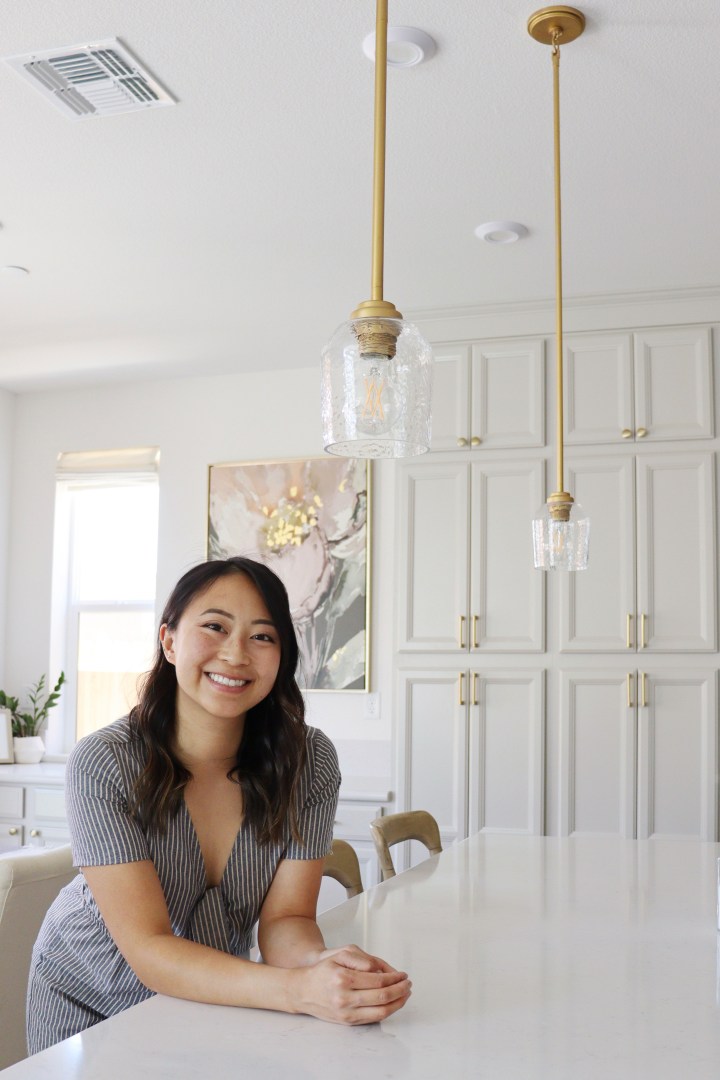
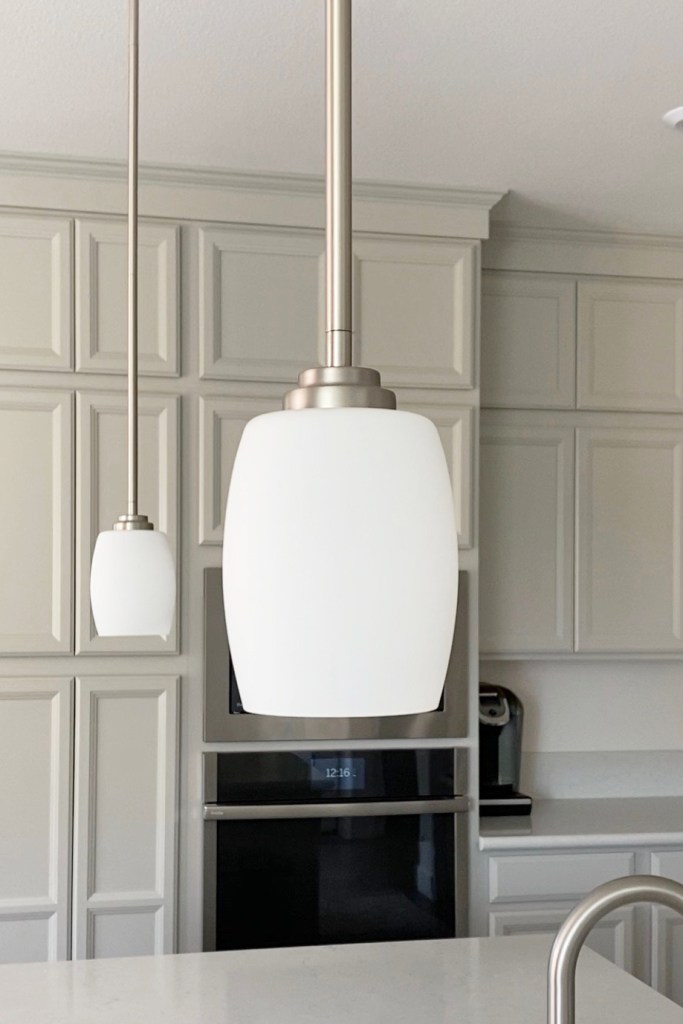
When selecting upgrades for our home, we chose the least expensive pendant lights that the builder offered. These were brushed nickel with an opaque lamp shade. Although they looked good, they just weren’t our style. Since moving in, I’ve really wanted to replace them with modern brass pendant lights but haven’t found an affordable set that I love. Also, I have so many other projects planned that it’s just not a priority for us pay several hundred dollars to replace our standard builder-grade pendant lights at this time… So I decided to upgrade them on a budget with Rub n Buff and new lamp shades.
I figured that if I ended up messing them up with this DIY, I could just get them replaced in the near future.

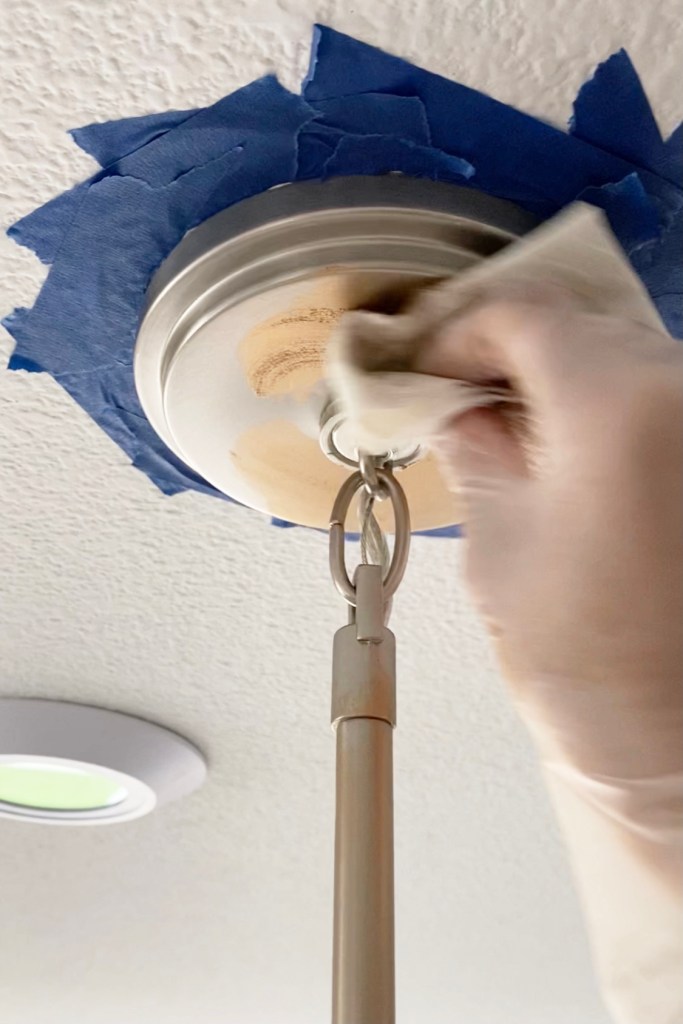
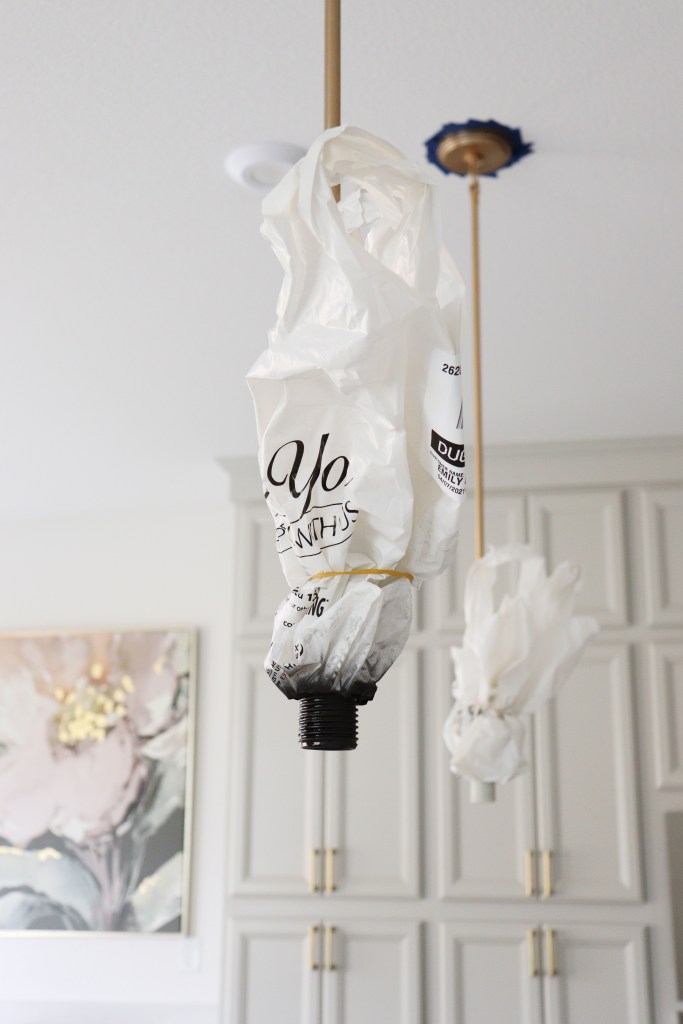
I started off by removing the light bulbs and lamp shades from the existing pendant lights.

I used painter’s tape to cover up the area where the base of the pendant light meets the ceiling. I think this piece is called the “canopy.”

I applied Rub n Buff over the entire fixture. I started off using Antique Gold but ended up putting a layer of Gold Leaf over it. Although Vince and I both liked the look of Antique Gold, Gold Leaf matched our kitchen hardware more.


This was my first time using Rub n Buff, and to be completely honest, I’m not sure how I feel about it.
Rub n Buff has become a very popular product in the DIY community recently. I’ve watched people completely transform their curtain rods, picture frames, lamps, and even furniture! From what I hear, it’s affordable, easy to apply, and has long-lasting results.
Unfortunately, I had trouble applying this product to larger surfaces. Rub n Buff covered smaller areas like the rod/pipe of the pendant light really well; however, it did not look even on larger surfaces like the canopy of the pendant light. Additionally, when I tried to add a second layer to some areas, the first layer would come right off. It was frustrating at times but definitely required less preparation than spray paint would have.
I’ll have to use Rub n Buff a few more times on different objects to know if I really like it or not. Tips on how to make Rub n Buff look good on larger surfaces are welcome and much needed (comment below or message me).
[Edit: I heard that it’s best to use a fluffy makeup brush to apply the Rub n Buff and to “buff” it using a soft cloth for a shinier, finished look. I highly recommend watching some videos on Rub n Buff application techniques for best results.]

The strokes are more obvious.


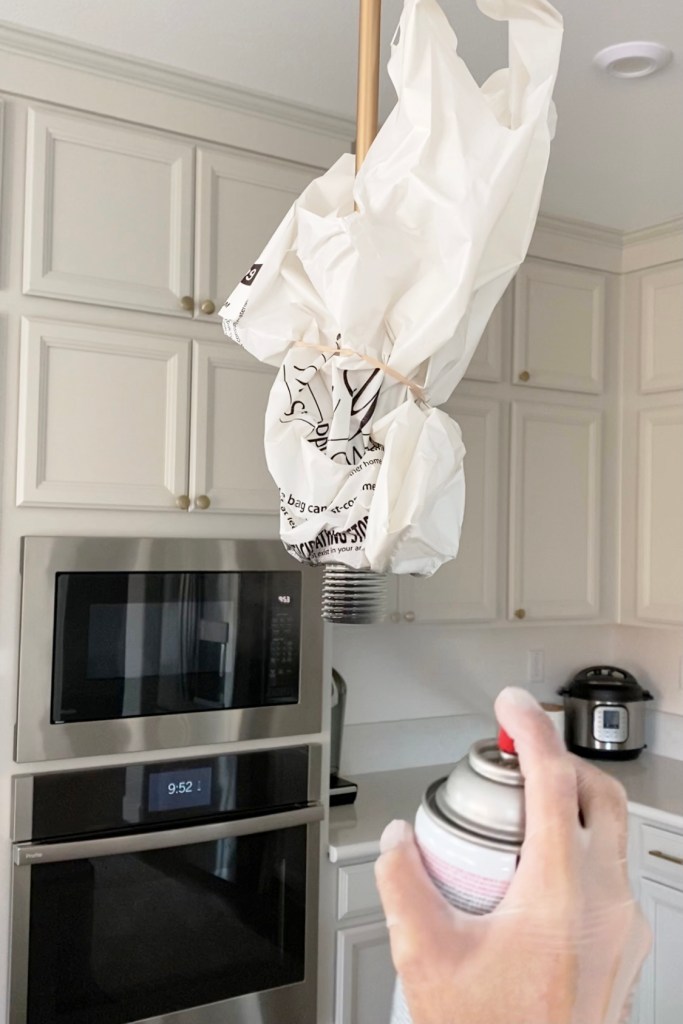
Once I finished applying Rub n Buff, I covered the bottom half of the fixture and kept only the socket exposed. I spray painted this area black but quickly realized that I didn’t like how the color looked with our kitchen. I ended up applying Rub n Buff over that area and the socket ring for a consistent gold/brass look.


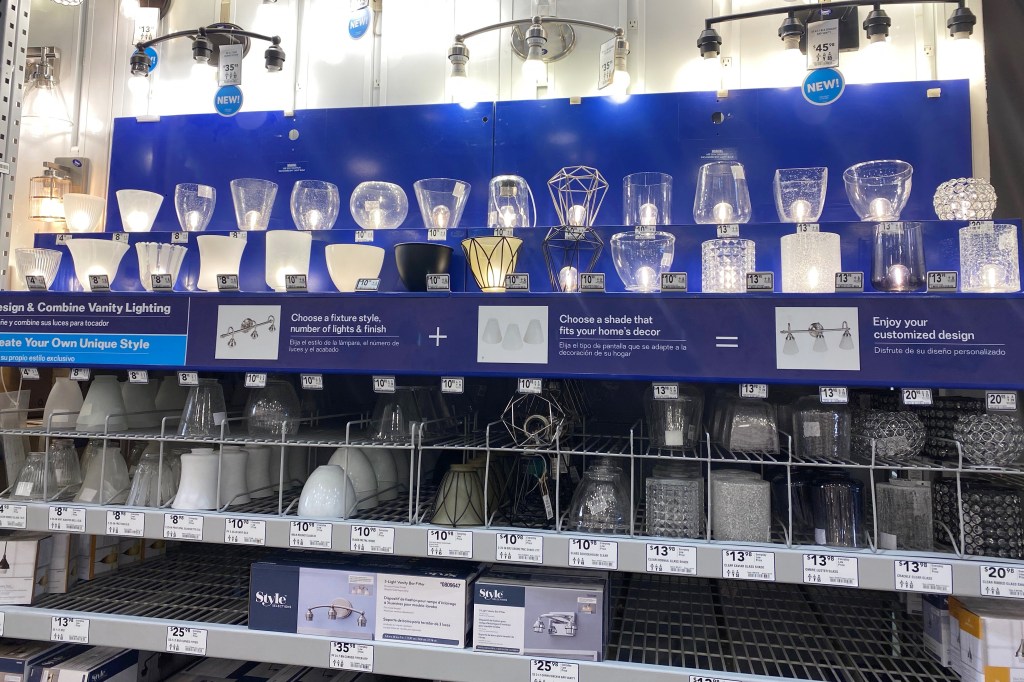
Then I attached the new lamp shades that we purchased from Lowe’s for $14 each (Lowe’s had more selection than Home Depot) and reattached the bulbs. [Edit: Scroll to the bottom of this page for my newest lamp shades, also from Lowe’s]


Now we have gold/brass pendant lights, and I didn’t have to spend a fortune. I love how the brass brightens up our kitchen!


ADDENDUM:
I recently switched out my lamp shades to new globe shades, also purchased from Lowe’s. I love them even more and love that I am able to easily switch out the shades for a brand new look without replacing the entire pendant light.

Until next time,
Emily

One thought on “DIY Pendant Light Hack”