
Do you ever see an expensive piece of art that you really want but can’t afford? I came across a piece that I love by Studio Mcgee, titled “Textured Movement,” but for $582? Wow! As much as I love The McGee’s Dream Home Makeover series on Netflix and the Studio McGee line at Target, I can’t afford to pay more than $100 for a piece of artwork (sorry to all the artists out there…).
So in a true Home with Emily Jean fashion, I decided to DIY a textured wall art on a budget, inspired by this Textured Movement print. Don’t forget to scroll to the very bottom of this page and read my “What I learned” section for tips on completing this DIY.

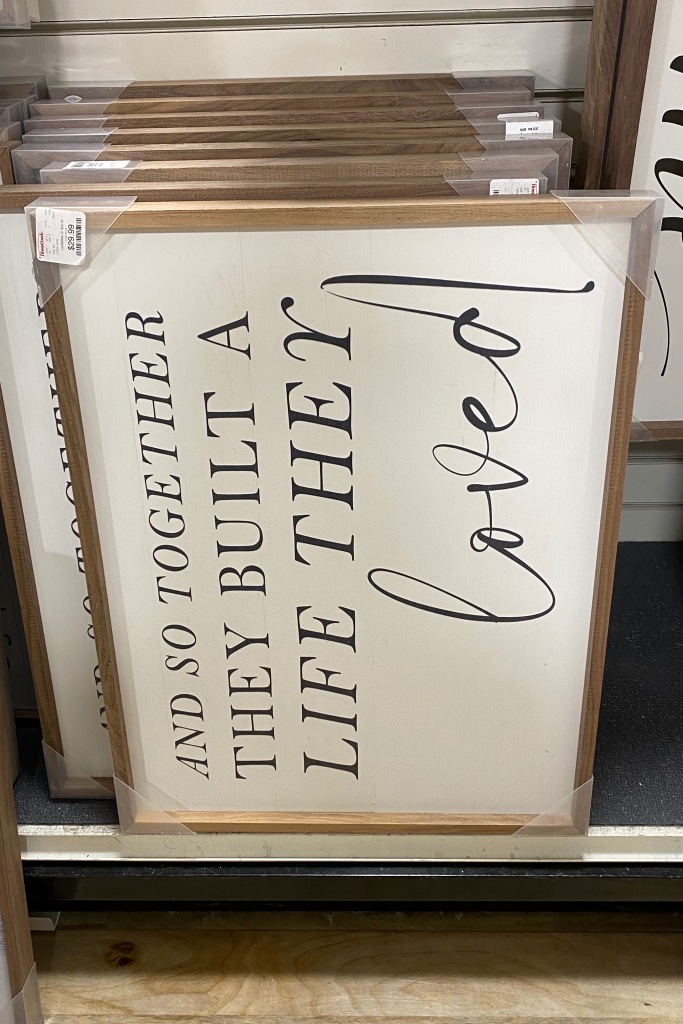
The easiest way to do this is by purchasing a framed canvas piece and painting over the existing artwork so you don’t have to build a frame yourself. You can find affordable framed pieces at HomeGoods, TJ Maxx, Marshalls, and Hobby Lobby. Medium-sized pieces (16″ x 20″, 20″ x 24″) are generally $25 – $30 at these stores, and large pieces (24″ x 30″ or bigger) usually begin at $40. Since you’ll be painting over the piece anyway, I recommend purchasing a piece that is on the clearance rack or one that has your desired frame color.
For an even more affordable option, you can purchase a blank canvas from Michaels or Hobby Lobby for around $5 – $25 and paint over that; however, you’d have to build or purchase your own frame once you’re done. I was feeling a lazy with this project so I opted to paint over a framed piece this time.
Here are some framed pieces at HomeGoods that may work.


Next, I gathered all my materials, which included…
- My framed art piece
- Painter’s tape
- Joint compound (drywall mud)
- Taping knife (or joint knife)
- Hair comb (or a floor trowel)
- White paint (optional)
- Paintbrush (optional)

I started off by taping over the frame so I don’t get joint compound or paint all over it.


Then I scooped up some joint compound with my taping knife and slathered it on until the entire piece was covered. You can use any taping knife for this step, but I liked the texture that the smaller knife provided (the large knife made the joint compound look too smooth).

Make sure you cover all edges, don’t think too much about it (we’re going for imperfection here), apply the joint compound in different directions using varying amounts of pressure, and HAVE FUN!


Next, I used a fine tooth comb to create my pattern and wiped the joint compound off of the comb after each stroke to minimize uneven scraping. A masonry trowel would have been ideal, but I wanted to use what I had on hand.
For this step, you can create whatever design and use whatever strokes you’d like to. To be honest, I started with a pattern that very closely resembled the original Textured Movement piece. I LOVED how it looked, but due to fear of copyright infringement, I decided to create my own design to avoid any lawsuits. I don’t like my little swirls as much as the original print, but this is also what makes this DIY fun… You can create your own design and make this piece your very own! The best part is… If you don’t like how your design looks, you can easily “erase” it by spreading or reapplying joint compound in that area within a certain time frame.


Next, I let the joint compound dry for a few hours before applying paint. I think it’s recommended to wait 24 hours, but my impatience got the best of me… Haha! You definitely want to make sure the joint compound is dry before painting it. Otherwise, you risk smudging, smearing, or flattening some of the texture.
Then I painted over the entire piece with white paint, which I realized later was completely unnecessary unless you are attempting to cover any of the the original artwork that may be showing through. Once I was done painting, I carefully removed the painter’s tape.


And there you go! I was able to create my own textured wall art for less than $30 ($22 for the framed art piece on clearance, $7 for the joint compound). Luckily, I already had taping knives, painter’s tape, paint, and paint brushes on hand, but if you don’t, you probably won’t have to spend more than $20 for them all.

What I learned…
- Joint compound starts drying pretty quickly so it’s best to finish spreading the joint compound and creating your design within 30 minutes or so.
- Small taping knives create a more textured look while large taping knives create a smoother look.
- Don’t think too much about the strokes. We’re going for an imperfect, organic look.
- It helps to apply the joint compound in different directions using varying levels of pressure.
- It’s best to wipe the joint compound off of the comb between strokes. Otherwise, the comb scrapes unevenly and forms chunks of joint compound.
- A masonry trowel or a wide tooth comb would have created the more obvious textured look that I’m looking for. The fine tooth comb created a very subtle texture that’s harder to see from a distance.
- Paint also minimizes the texture. If I could redo this project, I probably wouldn’t have painted it.
- If you decide to paint over your piece, it’s ideal to use a flat sheen of paint. The glare of glossy sheens can hide the texture.
- The lighting in your house affects how the texture looks. The more light that’s reflecting off of the piece, the less textured the piece looks. This will determine the best placement for this piece in your home.
That was such a fun and quick project for me! Now who’s planning on doing this DIY textured wall art next?
Until next time,
Emily

I have two huge framed typography prints and I was considering getting rid of them, but now I’m totally inspired to try this with them! Love this!
LikeLike
Thanks!! I’m so glad you like it! I JUST posted another blog post on a different type of DIY textured wall art that you might like too!
LikeLike